The Deep Litter Method
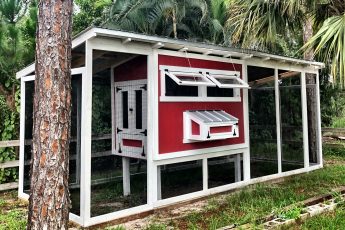
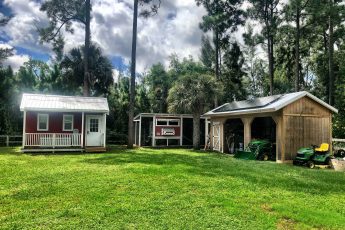
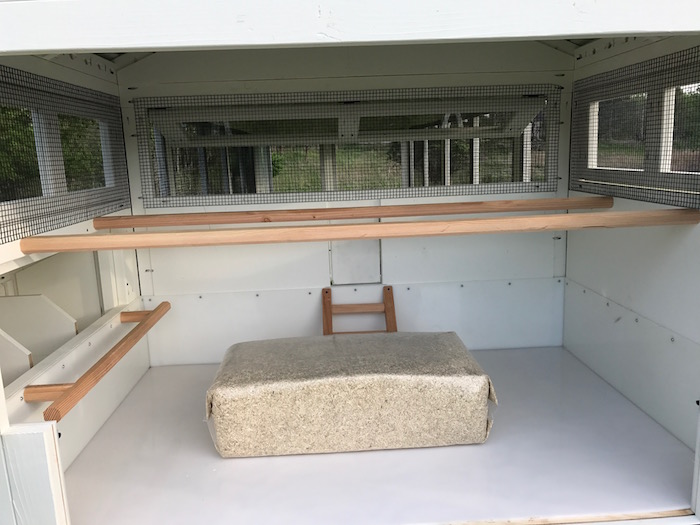
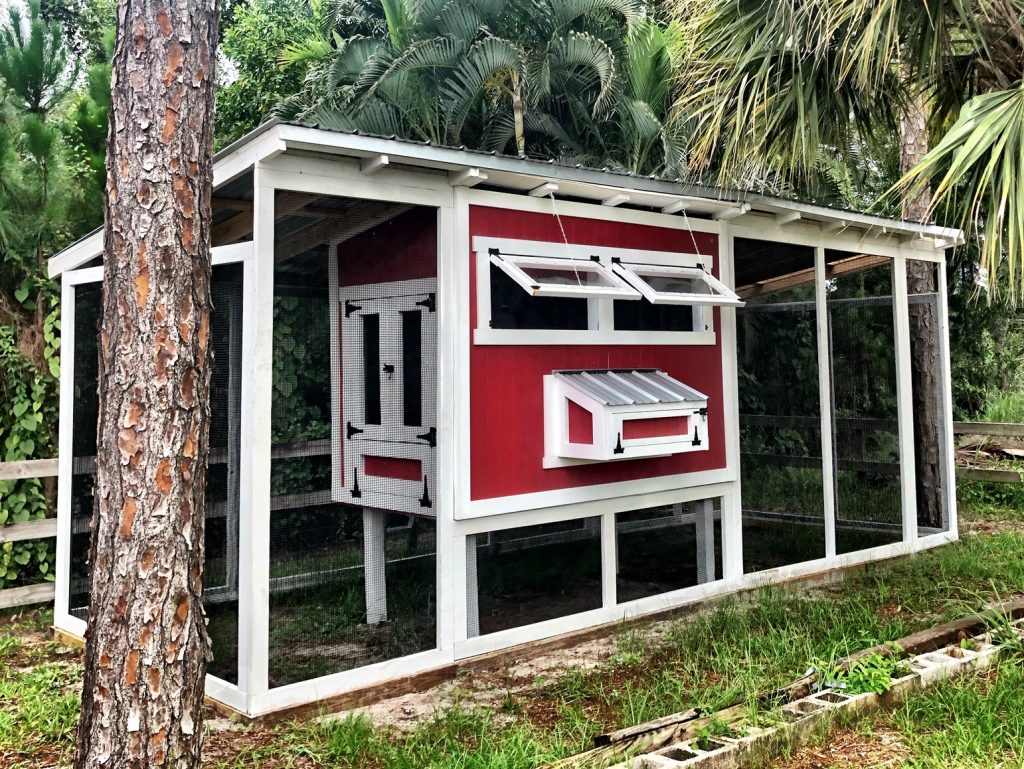
Over the past few years, I’ve been updating my chicken Coop-dominium and it has morphed into what you see today. I have architected it to allow a 12 inch deep litter bed. The reason for this is that after tremendous amounts of research, I have decided to go forward with the Deep Litter Method to manage the chicken waste.
Here are are my findings, words of wisdom and tips which I’ve gathered from my research and experiences.
What is the DEEP LITTER METHOD (Otherwise known as “built-up litter” or “compost litter.”)
Put simply, the Deep Litter Method of managing chicken waste is a technique which creates a sustainable method of managing chicken litter inside the coop for the long term. It is a scientifically proven healthy method for chickens and it is a huge labor saving technique. This method eliminates the need to scoop shovel, fork, broom, and scrape nasty bedding from the coop on a weekly basis. In fact, if done correctly, you won’t have to change the litter in the coop for several years. This technique is perfect for my small flock (and my own lifestyle). It does, however, require a little work and a well-ventilated hen house to make sure it works properly.
Deep litter is strange stuff. Although at first thought you might think that it is a standard compost pile with chickens living on top of it, that is not exactly what it is. it is much more than that. I’ll explain in more detail later in this post.
In a nutshell, To start the process, the coop is lined with a 4 inch fresh layer of bedding. I use natural hemp shavings for my bedding. Then on a regular basis, additions of 1 to 2 inches of fresh bedding are “folded in” as needed without removal of the old waste. A depth of 6 to 12 inches is maintained by partial removals from time to time.
Similar to a garden compost pile, there is brown stuff – “the hemp shavings” and green stuff “the chicken poop droppings” – both are things which need to be managed. When the proportion of green to brown gets too large, additional bedding is added to the mix. Over time, the litter gets deeper, and eventually, some needs to be removed. What does get removed makes good garden compost.
If the surface of the litter cakes over, or if you see any “wet” litter, just skim it off with a shovel or garden fork and toss it into a corner. This will create a small and impromptu compost heap. In a few days, it will have composted to the point where it becomes just like all the other litter. It’s amazing how well this works!
As you add litter, make sure you rake dry litter into any low spots and under the roosting bars. It is a good idea to add a little chicken scratch regularly to entice your chickens to help aerate the shavings, and let nature break down (compost) the litter.
This hardly takes any time at all.
Too Good to be True?
When I first learned about the Deep Litter System, and the thought of only cleaning out the coop once a year, the idea sounded truly disgusting to me. Then, to compound that vision, the thought of adding more bedding material month after month without removing any left me with the image of litter piled up to the rafters inside the coop. What I discovered is that the Deep Litter system is neither gross, nor out of control.
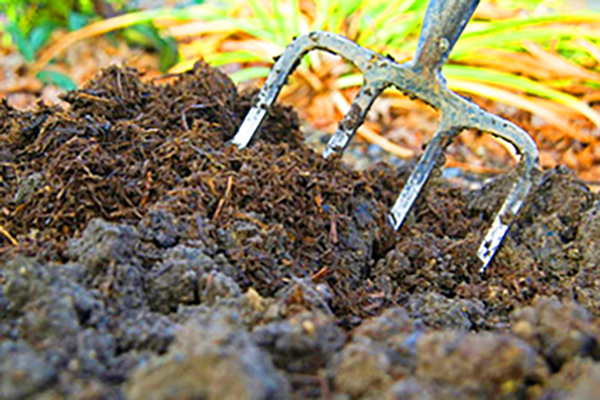
The reality is that chickens love to dig, so they’re constantly turning the litter in their coop. This process covers up their poop, and takes care of any smells. Since flies like poop (yes, they do – and it is disgusting), they find their way to the coop and lay maggots (also nasty). But, chickens LOVE bugs, so they turn and mix the litter even more to get at the bugs and eat them. In fact, the chickens get some extra protein by eating the grubs and bugs in the coop – with the positive side effect of keeping the bug population in check. This combination (and mother nature) allows the litter to get broken down quickly. What this means is that there is really plenty of room for the additional fresh shavings that are added regularly.

Leaving the litter in place also means that the composting process starts in the coop, and not your compost pile. And since compost heats up as it breaks down, by the time winter gets here, there’s a nice thick layer of cooking compost in the coop to help keep your chickens warm during the winter. Pretty cool, right?
History
The Deep Litter Method is not a new idea.
As long as there have been domesticated chickens, families have had thier own flocks providing eggs and other poultry products.
In the 1940’s, with the advent of World War II, many of the “men of the house” went off to fight, leaving their families to tend the flocks (both metaphorically and literally). Some families didn’t have the time (or desire) to clean out their coops regularly, so a lot of them simply kept “adding” litter materials. After a while, people started to document the fact that since they weren’t changing their litter regularly, there was less chicken moralities and the coop didn’t smell at all. In fact, the coop had a fresh “earthy” smell to it.
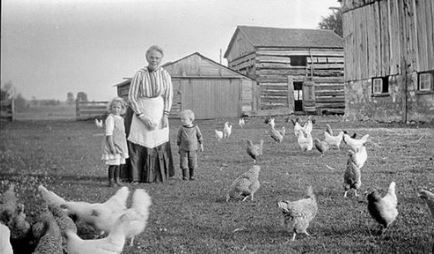
According to the original proponents of the deep litter method – Kennard and Chamberlin (published in 1949 in Ohio), “old built-up litter is drier, more absorbent, and less obnoxious than fresh litter after a few days’ use. Often overlooked is the fact that nature’s chemical and biological processes have converted built-up litter into more sanitary, less obnoxious, residual compost-like material which is preferable to fresh litter”.
Studies on deep litter conducted at the Ohio Experiment Station in the 1940’s also concluded that deep litter was beneficial to chicken health and in the control of coccidiosis.
Requirements for a Healthy Deep Litter Environment
The natural composting process requires carbon-based litter material. Specifically hemp shavings, pine shavings, grass clippings (or perhaps a mixture of those) and so on. It is not a good idea to use straw inside the coop, as it takes a long time to break down, and can foster fungus and mold. My current setup uses natural hemp shavings for the litter inside the coop and a combination of pine shavings and straw in the nesting boxes.
Proper aeration of the litter is absolutely necessary. The chickens will turn much of the littler naturally (especially if you toss a little scratch in there to entice them), but it has to be monitored. Areas which are missed or become caked have to be turned manually.
I cannot emphasize how important it is to have proper ventilation. Cross ventilation is good, but make sure there are no drafts – especially over the roosting bars. Ammonia gasses and excess moisture need to escape quickly or it can cause devistating results. You should never be able to smell the ammonia gas. If you do smell it, it will probably become a hazardous environment for the chickens and ventilation in the coop is not adequate.
Speaking of moisture, the correct moisture balance in the deep litter is critical. Just like standard composting, mosture is required for the process to work properly. Chicken droppings consist of approximately 85% water which makes it less likely that the litter will become too dry for this method to be effective. However, wet litter is a sure candidate for fostering sick chicks. Therefore, it is not advised to keep “drinkers” inside the coop. They can be knocked over and spill and cause moisture problems. Remember, when the chicks go into the coop for the night, they are going to go to sleep and to roost in the dark in their safe space. They don’t need waterers inside the coop.
When analysing the moisture content, the litter should be equally moist and have the same consistency throughout. When stirred, the litter should crumble. When picked up and squeezed in your hand, it should hold its shape initally, and then crumble. It it holds together without crumbling or if water can be squeezed out of it, then the litter is too wet. If it does not hold its shape momentarily, it is tood rup.
Diatomaceous Earth (DE), Lime and Litter Condition
In the original method described in the 1940’s, hydrated lime was added to the mix at the rate of about ten pounds per 100 square feet, and reportedly kept the litter more friable. Many flock keepers of today have rediscovered lime, but are also adding DE to help with parasite control.
I personally think that the use of DE inside a coop while using the deep litter method is a very bad idea. DE is a drying agent, and will dry out the litter and kill beneficial insects and microorganisms necessary for composting. Using it outside the coop in the chicken run, however, is perfectly fine and is recommended.
I also feel that it is not necessary to add lime to the bedding – especially if it is in the correct balance.
If you do use lime, care should be taken to thoroughly mix the fresh lime into the litter. Othewise, although unlikely, the unmixed lime on the surface of the litter may have a mild caustic effect on the chicks’ feet.
The condition of the litter is generally judged by the way it looks, feels and smells. If the litter is dry and looks like it can absorbe mosture, and it does not have pasting or caking on the surface, then it is considered in good condition. However, if the litter appears damp or wet and/or there is pasting or caking of the litter on the surface, then you should probably consider the litter to be in poor condition.
Remember, there is a balance – if the litter is completely dry or dusty, then there may not be enough moisture to allow the natural composting work properly. But, litter enhanced with hydrated lime appears drier than litter under similar environmental conditions without the lime. Even though it might look very dry, it is possible that it actually has the correct amount of moisture content. Lime makes the litter more friable and more absorbent. This gives it the appearance of being drier and in better condition.
You will quickly learn what it looks like and smells like when the deep liter system is working properly. Your coop will smell “earthy” and “fresh”.
Traditional Composting vs. the Deep Litter System
The deep litter method of managing chicken waste is not extremely different from ordinary garden composting. Except that one occurs inside the coop and the chickens actually help manage the process.
Under perfect conditions, the both composting processes passes through the same three phases
- A moderate-temperature phase – this lasts a few days
- A high temperature phase – this can last from a few days to a few months
- A cooling and maturation phase – this generally lasts for months to a years.
Each phase is controlled by different communities of microorganisms (bacteria, actinomycetes, fungi, protozoa, etc) and microorganisms (flies, ants, beetles, etc). In the traditional compost pile – in order for the various organisms to transform organic matter into valuable garden fertilizer efficiently, they must be fed, oxygenated and watered properly. That has to be done by the human
In the deep litter system, the chickens turn the compost pile regularly. What you can’t see in that pile of chicken poop in the coop is that microscopic organisms are hard at work breaking down the droppings. The great news is that these beneficial microbes will also eat and destroy bad bacteria that can make your flock sick. The presence of these beneficial microbes has been show to help prevent infestations of lice & mites. They also can help protect your flock from coccidiosis (a potentially deadly intestinal parasite). The microbes will destroy the coccidia bacteria that form, but also the slightly higher ammonia levels present in deep litter coops makes for unfavorable coccidia growing environment (common coccidia treatment includes spraying with a 10% ammonia spray).
In Closing
There are lots of people that use the Deep Litter System and never completely empty their coop. They just keep stirring up the shavings and pulling out the excess. The thought is to keep the bottom “hot” layer of decomposition to help act as a starter culture to jump start future new layers.
I haven’t had my flock long enough to say whether this is a good idea or not, but I’m sure I’ll figure that out. Either way, we are incredibly happy with this system as of now – and it works for us!


