
The Coop-Dominium (Part 1)
This post describes the initial build of the Homestead Chicken Coop. Otherwise known as the “Coop-Dominium”. I will share my thoughts on why I built this, and of course, how I built it. I will describe what materials were used, my mistakes, how it evolved from a simple chicken coop to a “Coop-Dominium”, my learning process, and everything leading up to the addition of the hens.
This is a multi-part series of posts describing my journey and quest for fresh eggs and happy hens.
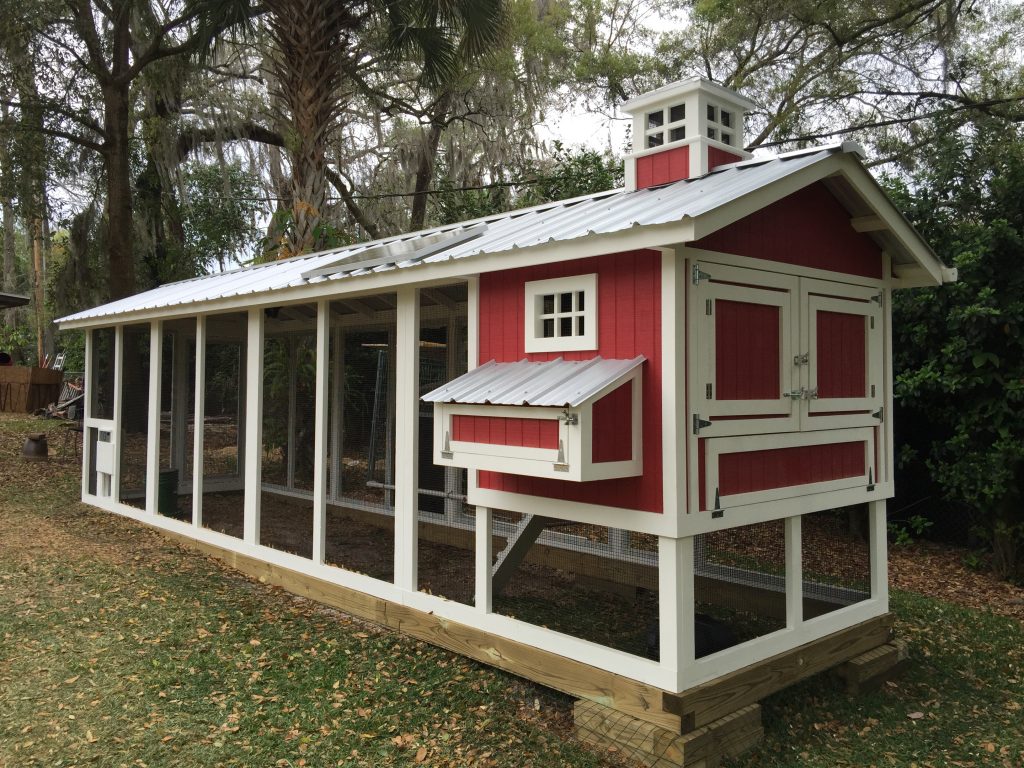
Note: The cover image of this blog post is my inspiration as seen from the CarolinaCoop.com Website. My completed project look very similar and borrowed a few of the concepts described on their website.
The definition:
“A chicken coop or hen house is a small house where, typically, female chickens or other fowl are kept safe and secure. There are nest boxes found inside the hen houses for egg-laying, and perches on which the birds can sleep. “
My Vision:
I have always wanted fresh eggs and livestock as part of my homestead life. It has been a long journey, but my vision is finally a realty!!
I have never actually owned chickens, and had tons to learn. As you can imagine (especially for those who know me), before building the coop, I spent an exhaustive amount of time researching online.
I read everything I could about raising and keeping chickens, the issues, the smells, the diseases, the costs… and of course all of the benefits. I looked at pre-built coops, kits, and different styles of coops (both personal and commercial).
I learned many years ago that as a frugal homesteader, I could build very impressive and complex projects fairly inexpensively. All the while maintaining quality
As this set of blog-posts is not about the care/feeding of fowl and livestock, I will not talk much about those topics. I will, however, share the facts I learned which led me to my construction decisions.
After researching, and knowing that I’m pretty good with a saw and hammer, I decided to do the home-built version. Of course, I wanted to build the “Taj Mahal” of coops, but also knew I was on a budget. Therefore, I decided that phase 1 (the hen house) would be primarily built from from recycled materials.
I even used this opportunity to learn a new software product called “sketchup”, which allowed me to do a 3-dimensional design – like the ones you see on all the renovation shows.
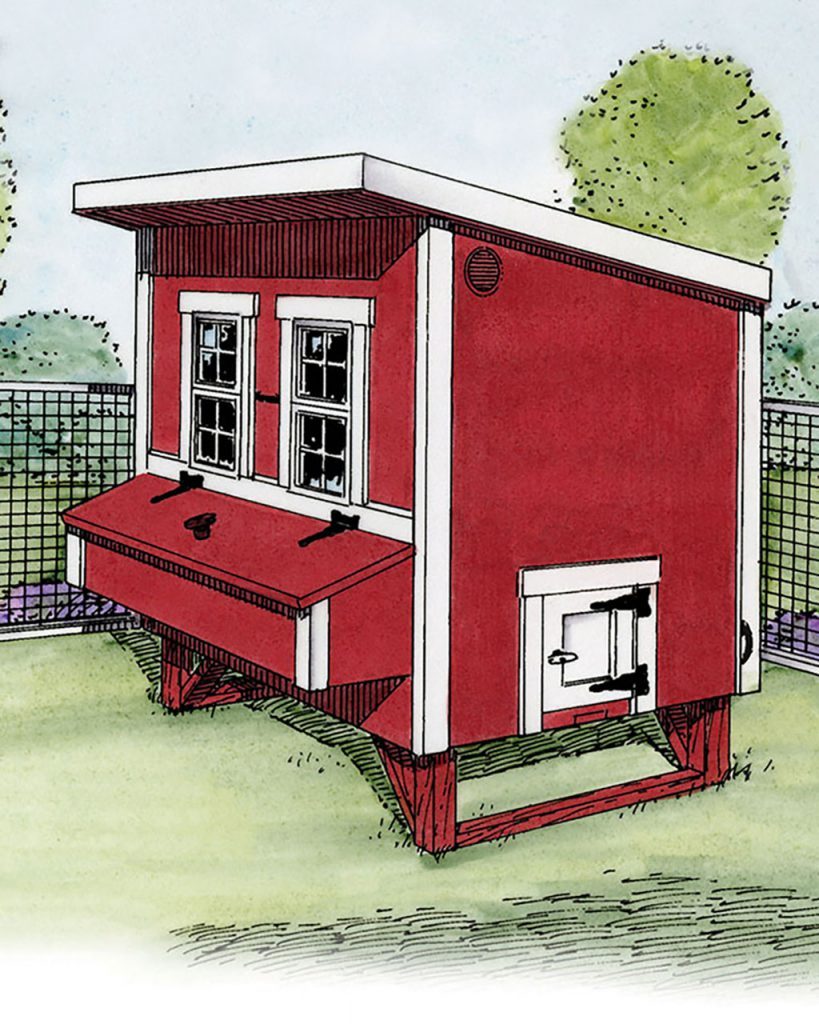
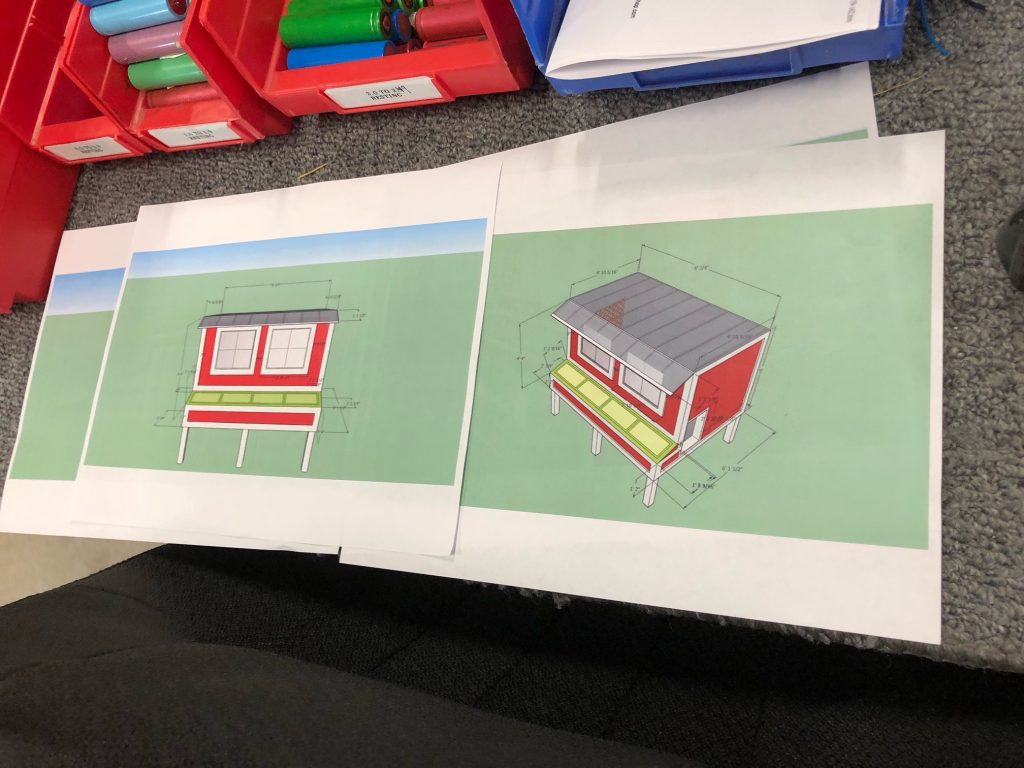
Artist Rendition and Sketchup plans for phase 1 of the Coop.
When designing the coop, some of my considerations included:
- Raised Coop vs on-the-ground
- Number of chickens to have
- Size and location of nesting boxes
- Height of roof above roosting bar
- Ventilation and Windows
- Clean out trays vs deep litter bed
- Size of chicken run
- How to enclose and cover the chicken run
- How to predator proof everything
Of course, some of these items I learned about AFTER the first design was finished, so I had to modify the coop as I went along.
The Build
The answers to my initial considerations led to the original design and ultimately to the build. Some of the critical items were as follows:
Raised vs. On the Ground?
I decided on a raised coop. This would give me space below it for shade and protection from the rain.
Plus, as I didn’t want to put water or food inside the henhouse, it was easy to protect it from the elements this way.
I originally though we’d free range the chickens so I didn’t consider a chicken run or whether it would be covered.
The chicken run was added later for multiple reasons, and was ultimately be covered with metal roofing.
How Many Chickens in the Henhouse?
As there are only a few of us living on the property, I didn’t initially think we’d need more than 6 chickens. But I wanted to have the option of adding more if we wanted to.
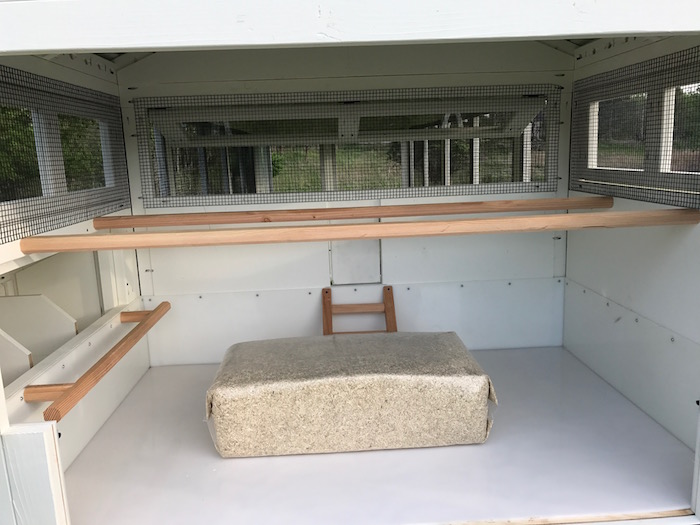
I learned that inside the henhouse, there should be approximately 1 foot per chicken on the roost bars. The henhouse I designed is 4 feet x 8 feet, with two 8 foot roost bars.
With this formula, this setup allows up to 16 chickens to roost in the henhouse simultaneously without being overcrowded. Of course, I’d never want to stress the chickens by putting that many inside at a time, but this does allow room for us to grow our flock if desired.
Clean Out Tray vs. Deep Litter Bed Method
I originally designed the henhouse to have a very large door to incorporate a shallow box to collect droppings in a removable tray under the roosting bars. This would allow us to open the door, pull out the tray and dump everything into a wheel barrow (or compost pile).
I originally thought that a shallow bed would be light and that we’d keep a no more than 2 inches of wood shavings on it. With this thin layer, we needed to clean it out every few weeks.
Unfortunately, this tray got very heavy and proved to be incredibly difficult to remove and clean regularly. Not to mention, it was very messy and always smelled bad.
As my research continued, I decided that I should go forward and use the “deep litter bed” method. There are many links online about this method and it is not a new idea. It’s been around since the 1940’s. Since then, it has been scientifically proven to be a very smart thing to do.
In a nutshell, with this method, instead of scooping out and replacing chicken coop litter frequently, we allow the chicken poop and bedding material to accumulate and decompose inside the coop. As in standard compost, beneficial microbes actually help control pathogens, so our chickens are much less susceptible to diseases.
A great side effect is that after the first 3 weeks, the coop had absolutely no smell at all. In fact, after the natural composting started, it has a refreshing “earthy” smell. Plus, the roosting area has a nice dry/fluffy floor which the chickens seem to enjoy.
There is very little maintenance needed with this method. We have decided to use industrial hemp material (instead of standard wood shavings or hay). This is a very green product, and although it is pricy, we don’t have to replace it.
I modified the coop and we started with about 4 inches of material, and every few weeks simply stir it up with a pitchfork. This keeps it fluffy. About once a month, we add a little more hemp.
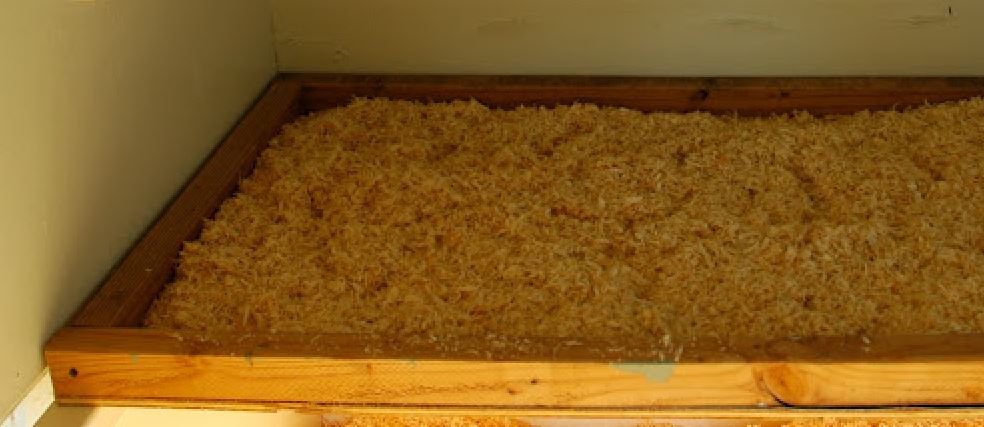
This is my inspiration:
As I live in south Florida, recycled marine board made from High Density Polyethylene (HDPE) is available very inexpensively, I’ll be rebuilding the inside of our henhouse shortly with it. I’ll build a 12 inch high bed similar to the image above.
The Chicken Run
This post will not talk about the chicken run in detail as it wasn’t really considered as part of the initial chicken coop build. I will discuss it in detail and show how it was built in part 2 of this series. However, some consideration and though was put into this future addition.
The area I have carved out in our site plan for the chicken coup and run is at the southern most corner of my homestead. It is in a relatively shaded area next to the pump house. The shade should help keep everything cool in the hot summer Florida afternoons.
The dimensions of the henhouse are 4 feet x 8 feet, but the whole area (the henhouse will sit inside this) is 8 feet x 19 feet – ultimately providing a covered chicken run of 120 sq ft.
As I have learned, it is recommended that each chicken have up to 10 square feet of run space. With 120 sq ft, there is enough room for up to 12 chickens comfortably.
The Hen House
As you know by now, I am an engineer who loves to use recycled materials whenever possible.
In the case of this coop, after I designed it in Sketchup and create my bill of materials needed, I went on a scavenger hunt around my homestead.
To my delight, I had almost 100% of the wood needed for the build. This included:
- Pallet wood for the framing. Every few months I see very large pallets near where I work (ones which contain 8 foot boards), so I make it a point to grab them. Although these pallets do not contain number 1 (or even 2) pine, the 2×4’s are all long and straight. They are actually pretty cool – Most of the long boards have one natural edge. Sure, they are not perfectly square on all sides, but they are good and solid. The natural edge is on the inside of the coop. The chickens won’t mind.
- Old used 4×4 pressure treated fence posts. After the fences blew down in the last hurricane down here, these were plentiful to pick up from the side of the road. I originally collected these to make some raised gardens and for other projects. Some are better than others, but they are all recycled. I picked up a few dozen of them. For the coop, I simply cut them to length.
- Old Plywood. The last hurricane this past October proved to be a treasure trove for me. It turned out that there was a ton of plywood which people purchased for “hurricane shutters.” After the storm, many people simply disposed of this perfectly good wood. I picked up about 10 sheets of 4×8 sheets. I used them for the floor and roof of the coop. I also used them for the nesting box.
- Siding material. When I purchased the siding materials for my pump house, I got it from a person on craigslist who had a lot left over from his home build. When I purchased the boards, the seller told me to take all of it – so I had more than I needed for my shed. I used the leftovers for the walls of the coop.
Of course, I had to purchase nails, a couple of bags of cement, screws and assorted hardware. No problem.
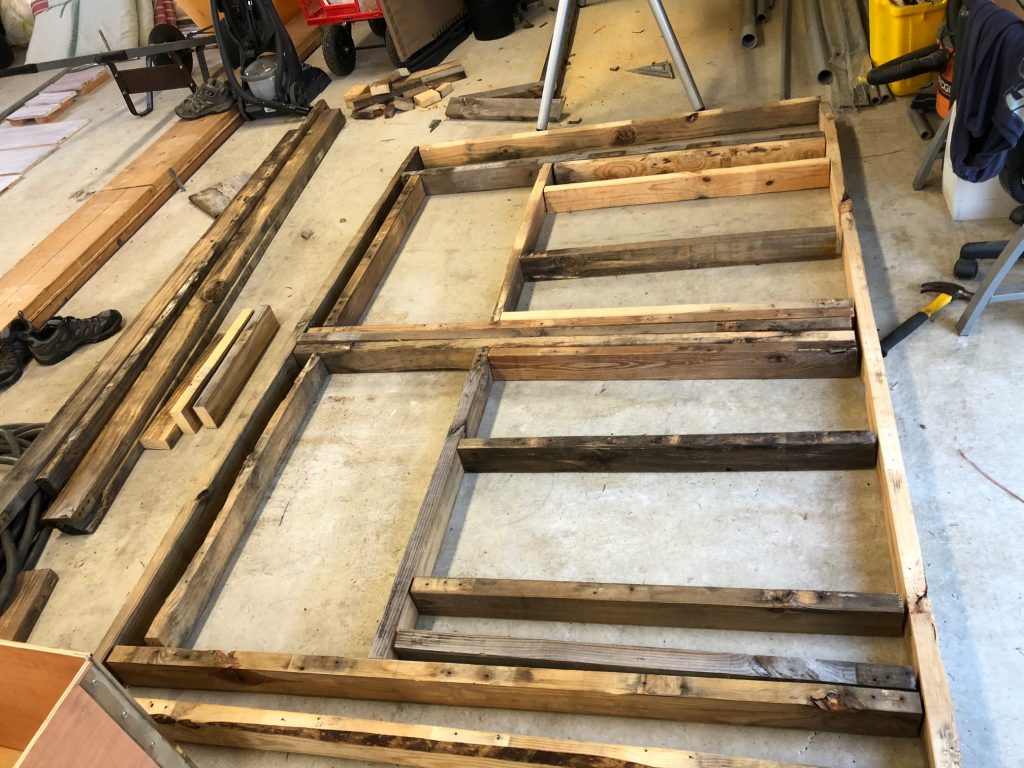
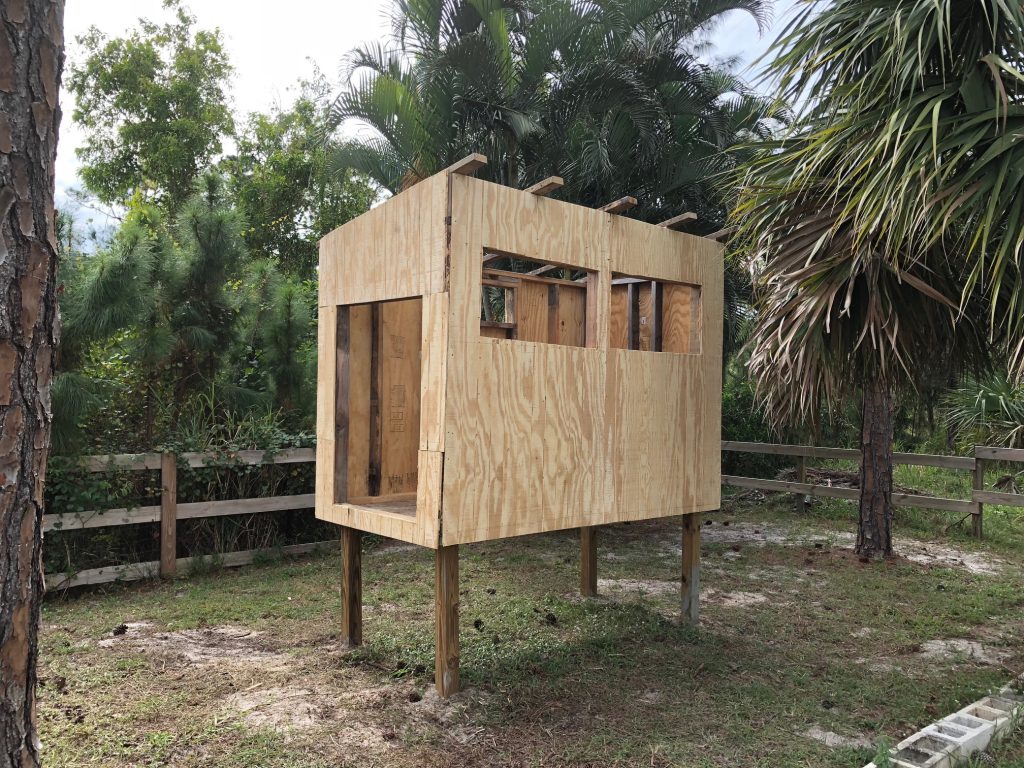
The Build Process (in pictures)
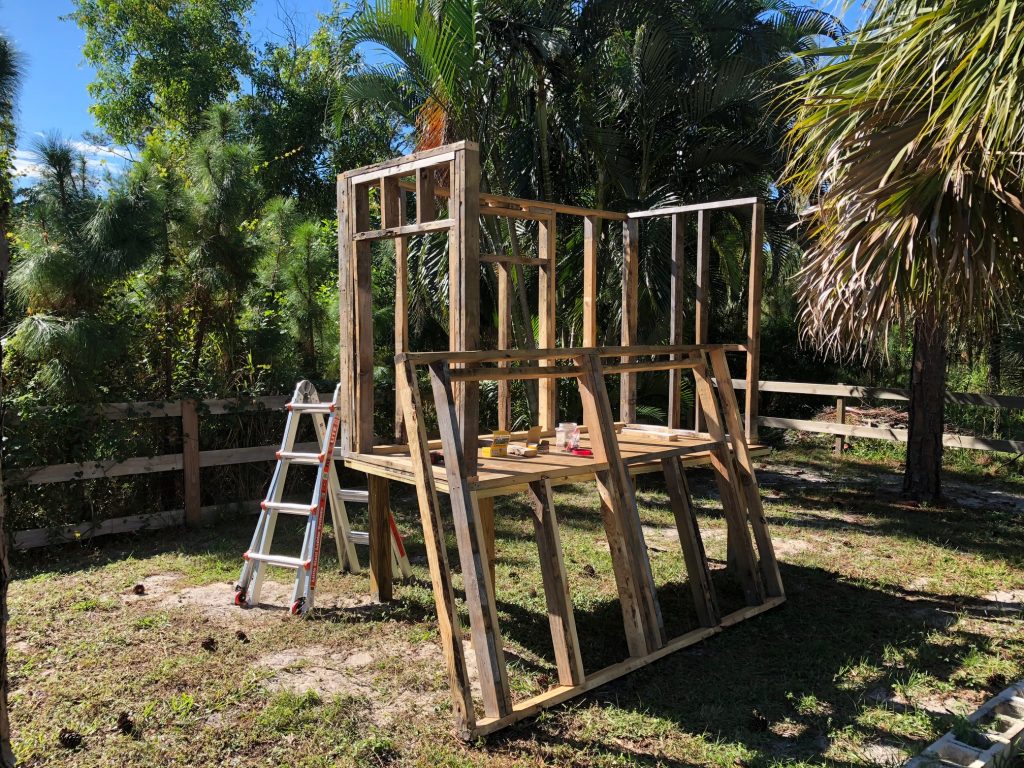
Once I disassembled the pallets and cut the 2×4’s to length per plan, I assembled them one at a time on my garage floor.
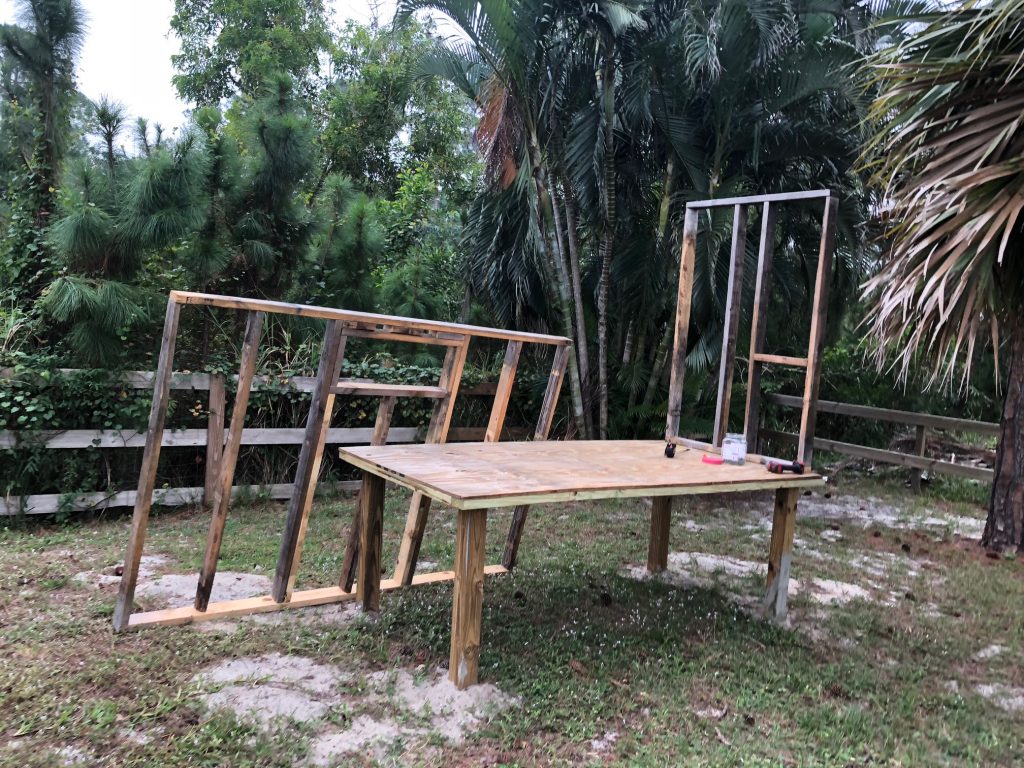
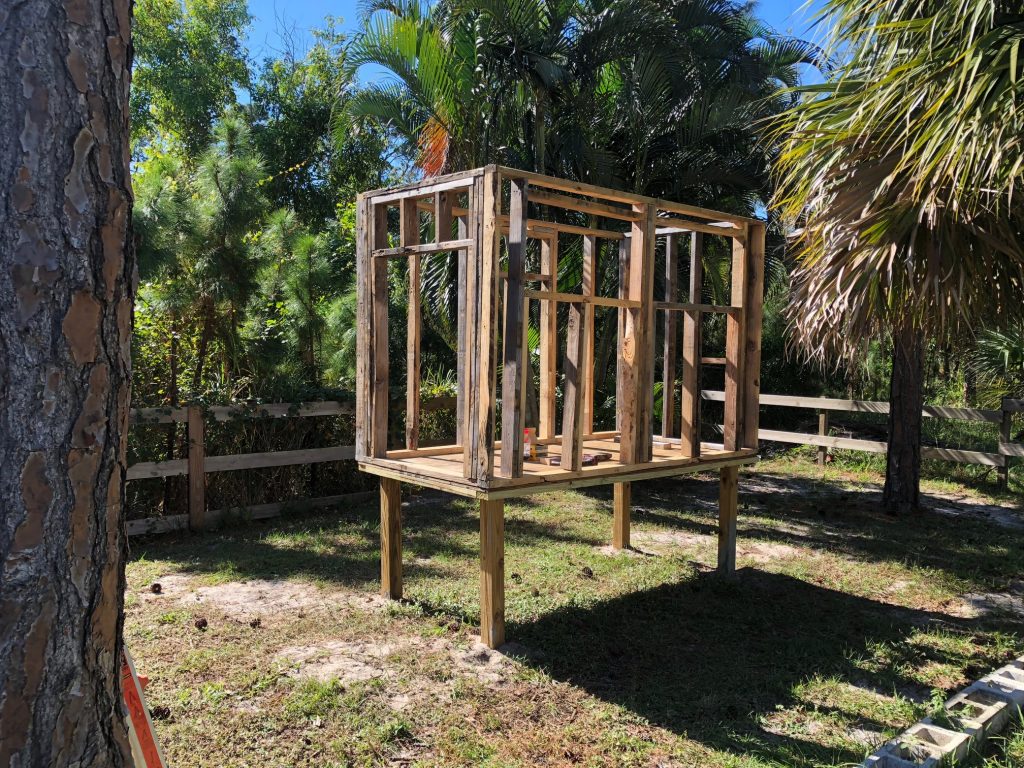
Then I built the base (1 x 4×8 sheet of 3/4″ plywood, with the 4×4’s screwed into it). I dug the holes, placed the base in the holes and cemented in the whole unit.
Then, after each of the walls were assembled in the garage, I stood them up in place and screwed everything together.
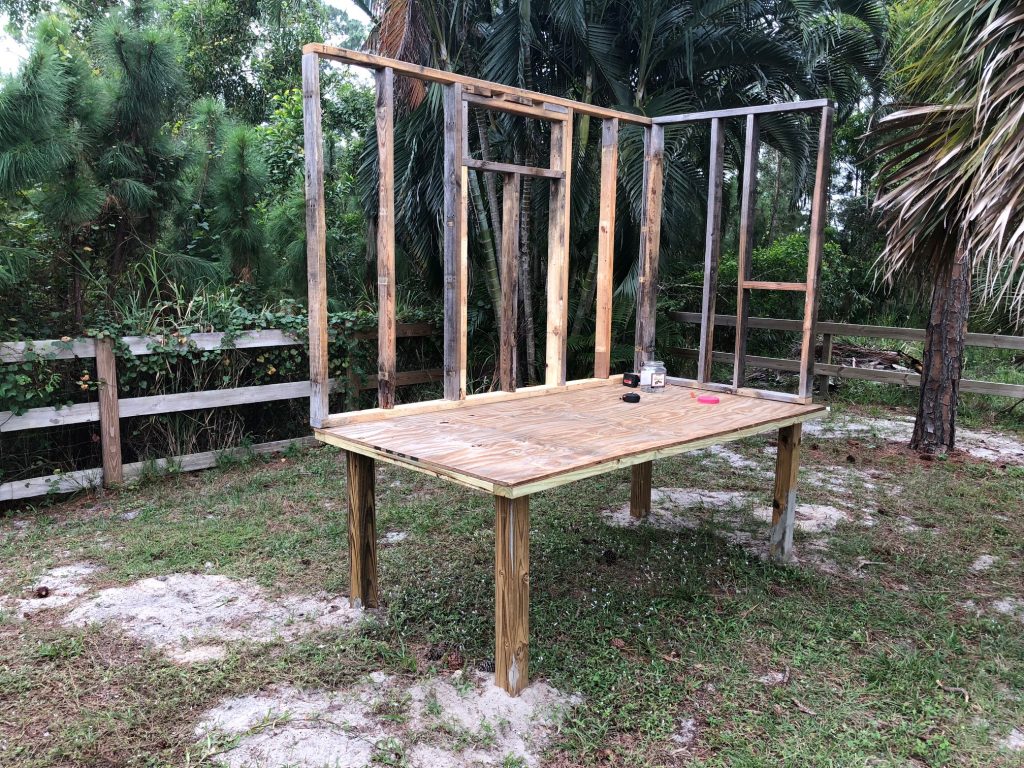
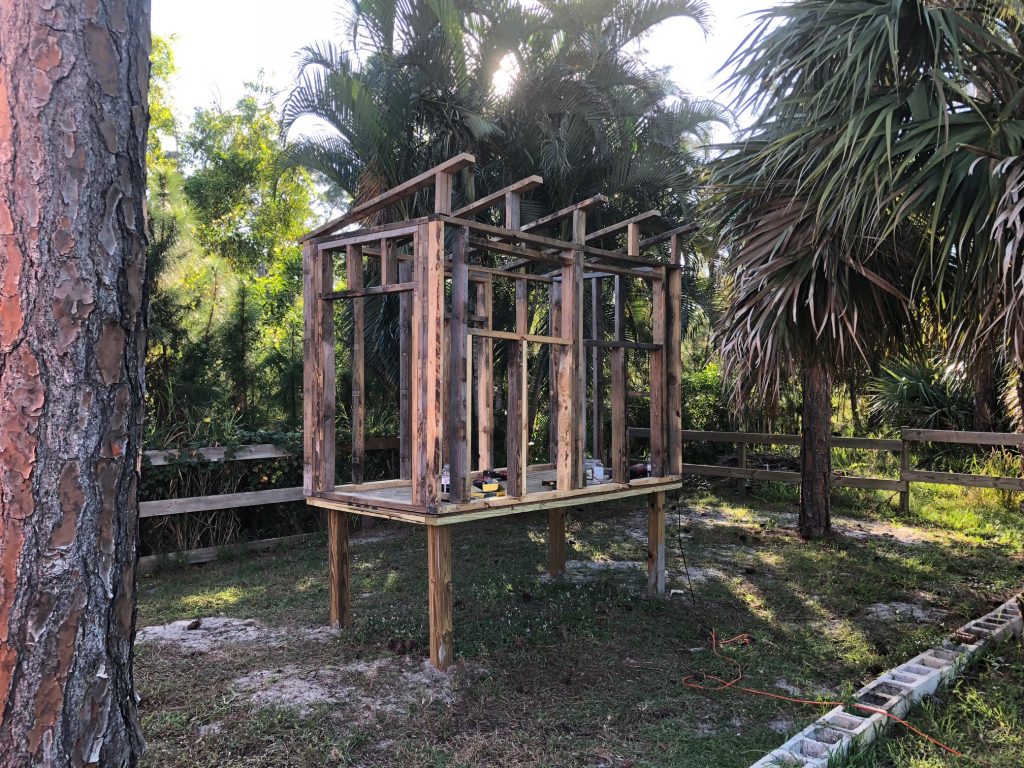
After the walls were completed, I built roof trusses.
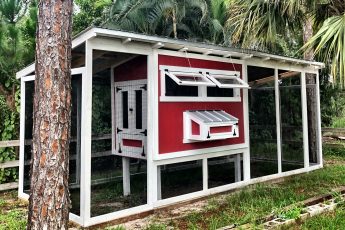
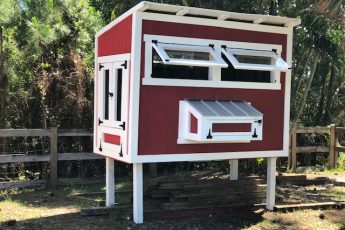
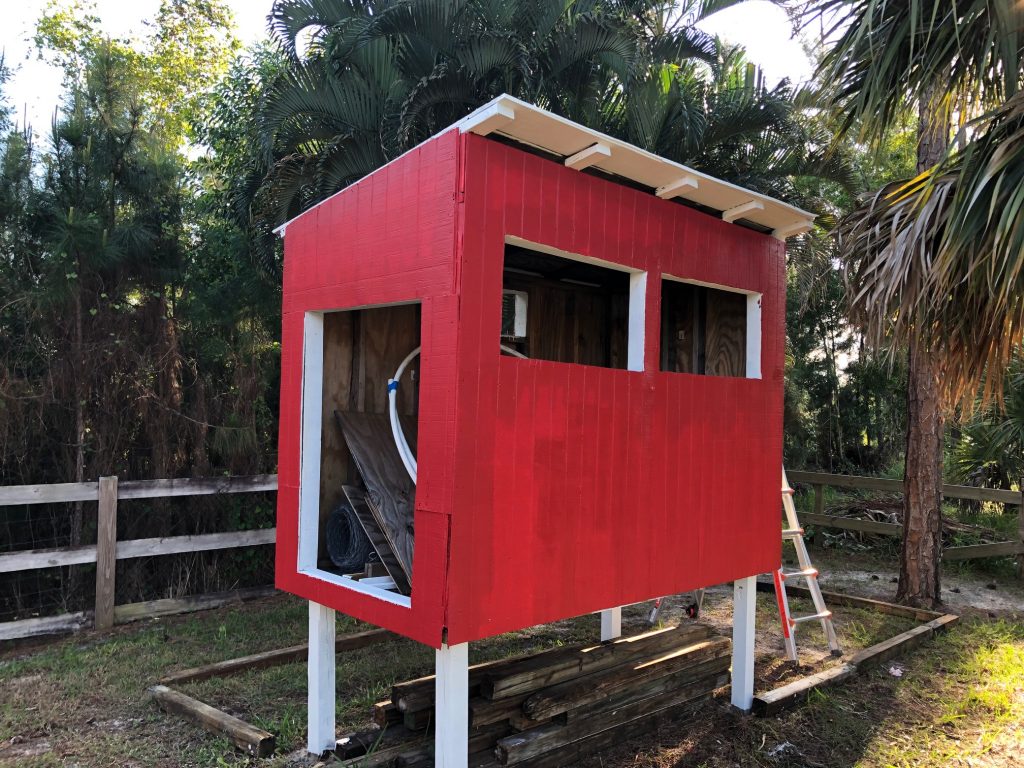
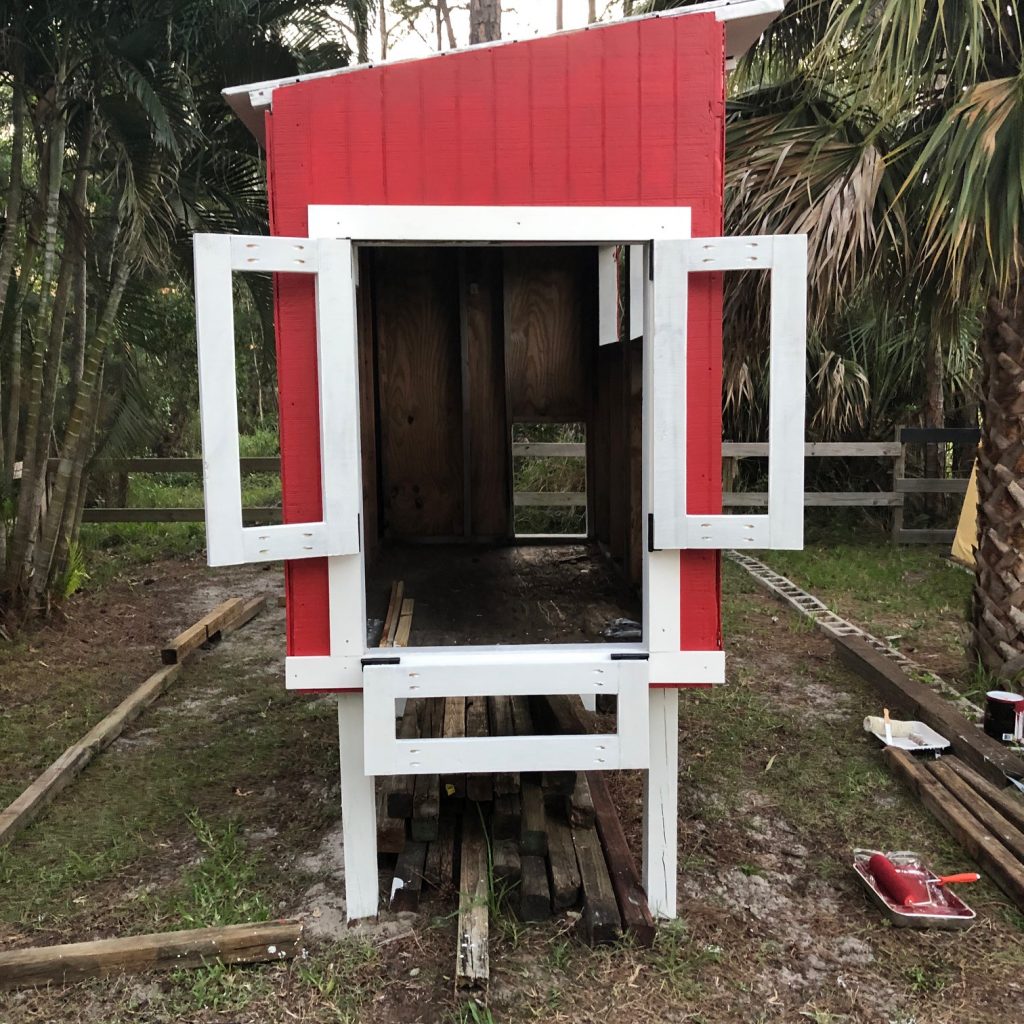
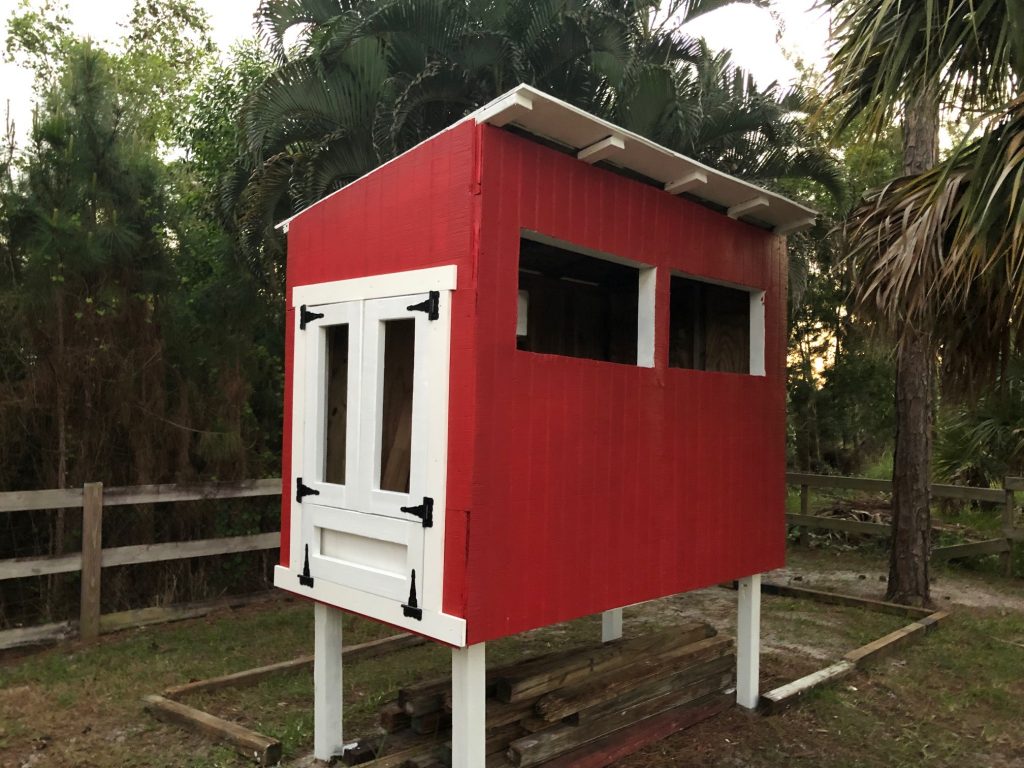
Then I added the siding. When painted, it will look a lot like the red pump house which you can see.
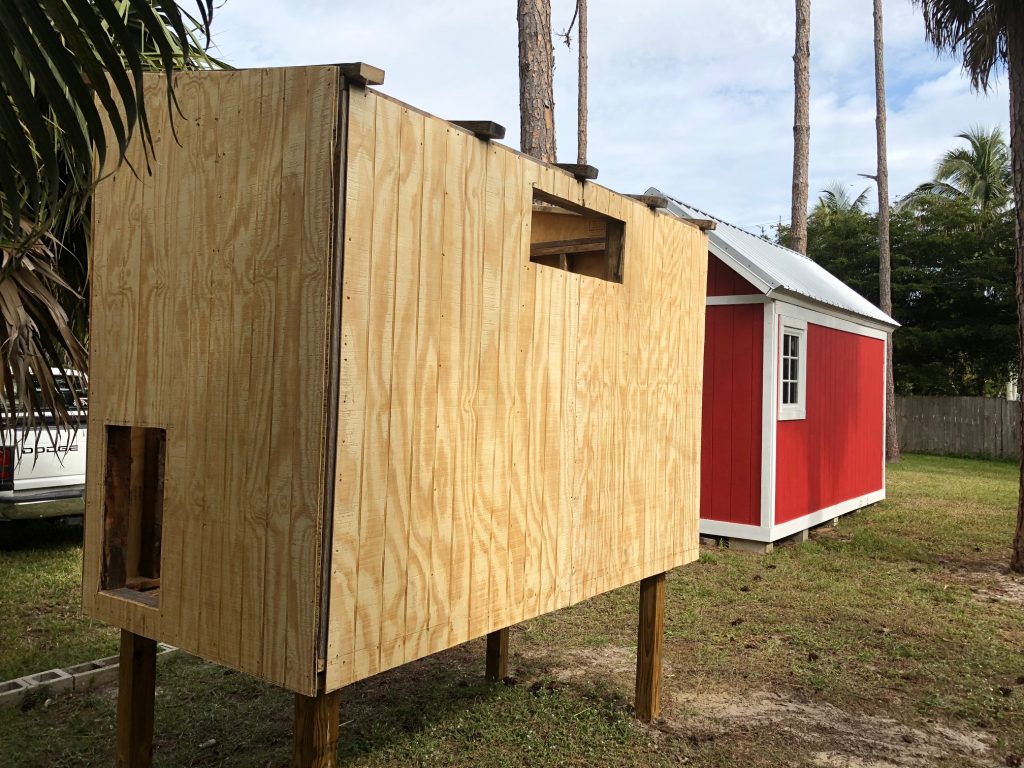
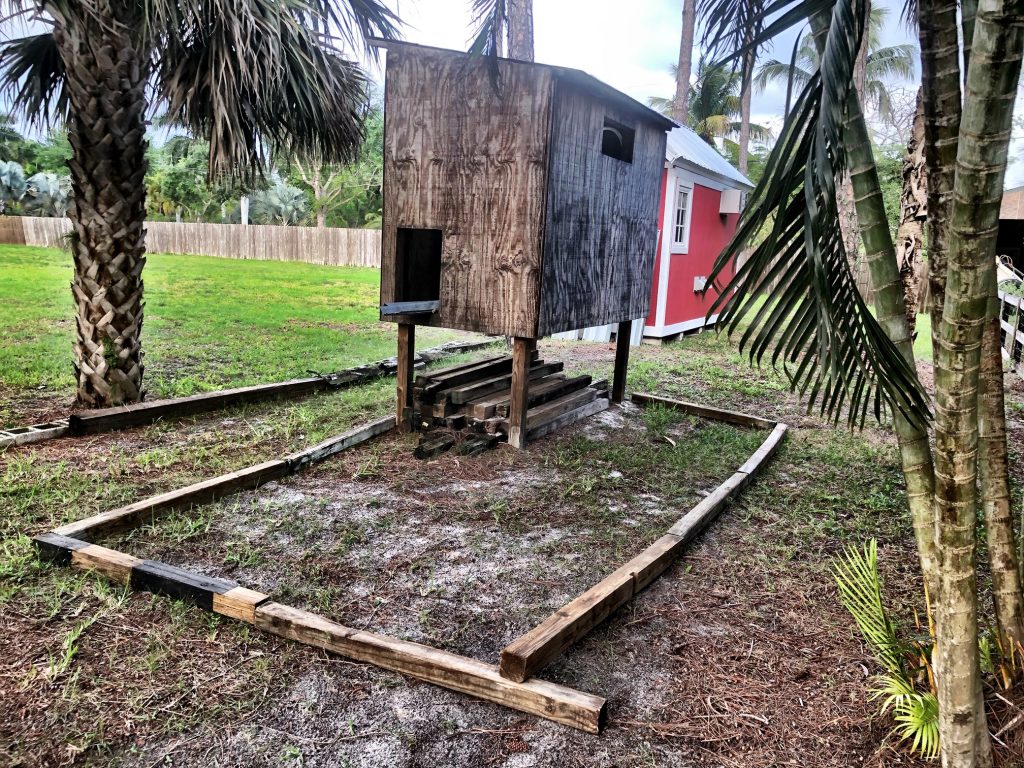
After this, I added a plywood roof to protect it from the elements, and it sat this way for almost 6 months. My thinking was that I’d eventually build the windows, the doors, nesting box, etc. Here is the weathered coop before I finished it.
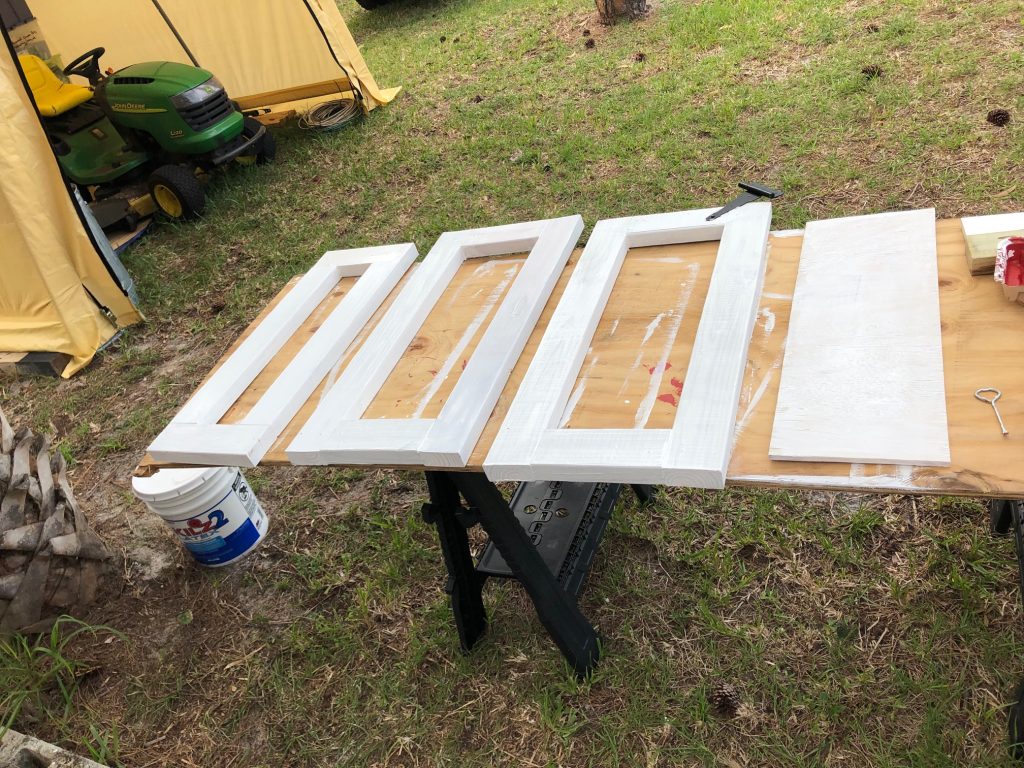
So, I finally got to the coop again (Danielle motivated me by telling me the boys wanted chickens and they were buying baby chicks)

Part 2 of this series will show what this evolved into. Stay Tuned!!!