
The Coop-Dominium (Part 2)
The Nesting Boxes
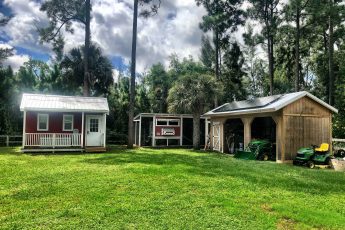
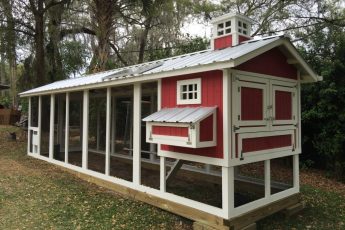
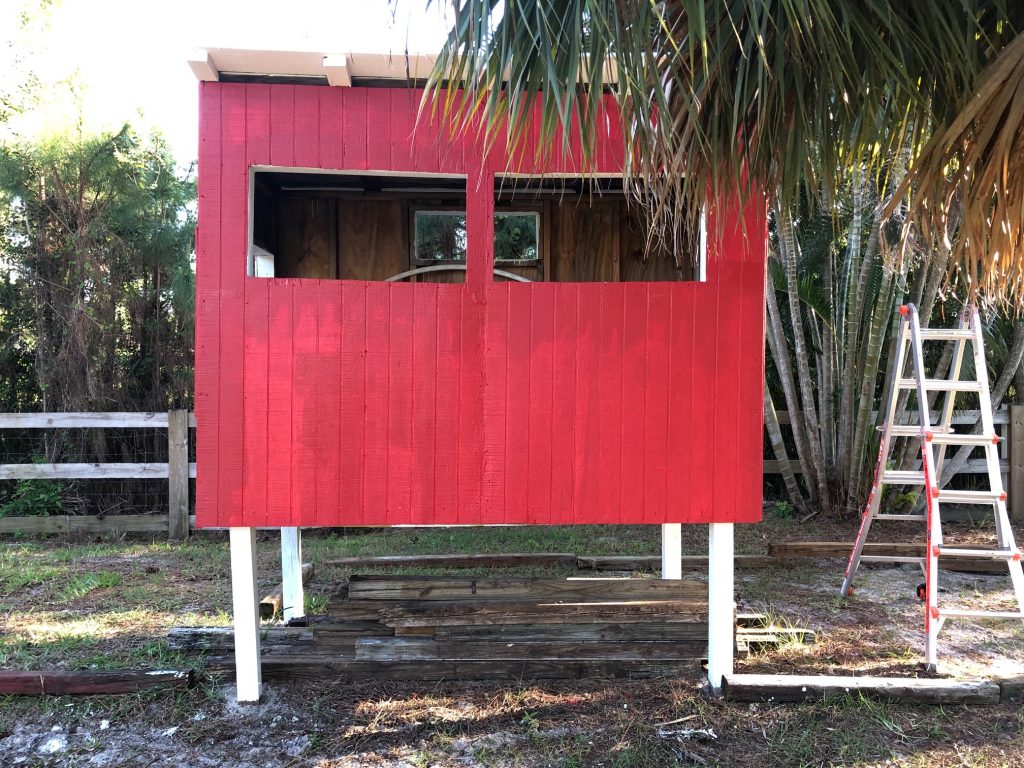
This post describes the continued efforts of building the Homestead Chicken Coop. Otherwise known as the “Coop-Dominium”. It is the second part of the multi-part series – This one focusing on the Nesting Boxes.
A coop would not be complete without a nesting box. We free-ranging the girls, but want to make sure they have a safe, dry, private and clean place for them to lay their eggs.
The last thing I want to do is search my yard, outbuildings, shed, and bushes for eggs. A well designed and kept nesting box will encourage the girls to use the box instead of creatively find other places to lay their eggs.
Box Design Considerations
When I first designed this coop, my initial box design had the access to the nesting boxes from the top – basically, the roof was on hinges and lifted up.
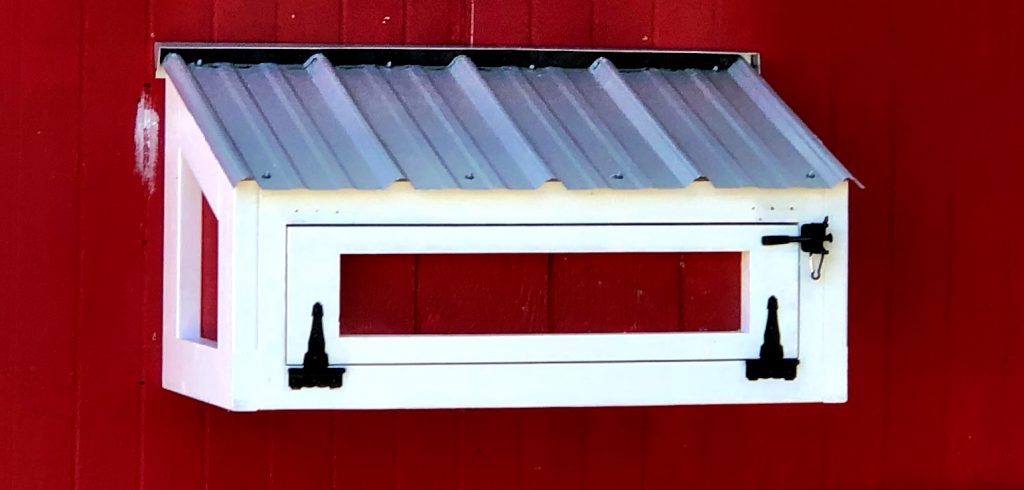
However, after doing research, I modified this design to provide access from the front instead of the top. The decisions were due to the following reasons:
- First, I realized that the nesting box would very high off the ground. This made access difficult for the height challenged people in my life – specifically my grand kids.
- A front entry is much less disturbing to chickens than having the roof disappear. Remember, 5000 years of evolution states that chickens nest high up and away from predators. If a girl was in the box nesting or brooding and the roof all of a sudden disappeared, they could become very stressed. But, opening the door from the front will not disturb them at all.
- Finally, with this design, it is easier to seal and make the box water tight.
Size of each box
The standard size for a nesting box is a 12 inch cube. Experts all say this is perfect for most hens.
As I’m not expecting to have any Jersey Giants (or other larger girls), I went with those dimensions. If I were to have a larger breed of chicken, I’d go with a 14″ wide box instead of 12 inches.
If hens have too much room to nest, they will kick out the bedding material. Additionally, if they are sized correctly (ie: not too large), the hens are less prone to bunking up together to lay their eggs.
Number of Boxes
There is no hard and fast rule as to how many chickens can use one box. Many “official” sites state that one box can be shared with between 3 and 6 hens comfortably.
I am planning to have up to a dozen or so girls in my flock, so I calculated that three nesting boxes would be more than adequate.
Yeah, I know… anyone who has a coop will say that no matter how many boxes there are, there will not ever be enough. All the girls will probably want to be in one of the boxes at the same time.
Box Height
I originally architected the coop to place the nesting boxes physically between 10 and 24 inches above the floor of the coop. This is above the deep litter bed, but lower than the roosting bars. We don’t want our girls sleeping in these boxes.
Also, since this box is fairly high up from the ground, with the door opening in front, it is a perfect height. Even my grandchildren can reach in and fetch eggs.
Removable Separators
This particular design has removable separators between the nesting areas. There are two separators, allowing three different nest boxes. Benefits of removable box separators include:
- If we have a broody hen, we can remove one of the separators, giving her a larger area to sit on her eggs.
- Cleaning is easy. I can remove the separators, remove the nesting material and easily clean out the nest boxes.
Nesting Materials
I have decided that I will be using hemp and pine shavings in my deep litter bed. But for the nesting materials in the nesting boxes I will be using a combination of pine shavings and straw/hay. I can get these materials easily from local sources.
I’m sure that separate nesting material choices in each box will be an interesting choice for picky hens, but I suspect I will find all of them in the same one at some point.
The Build
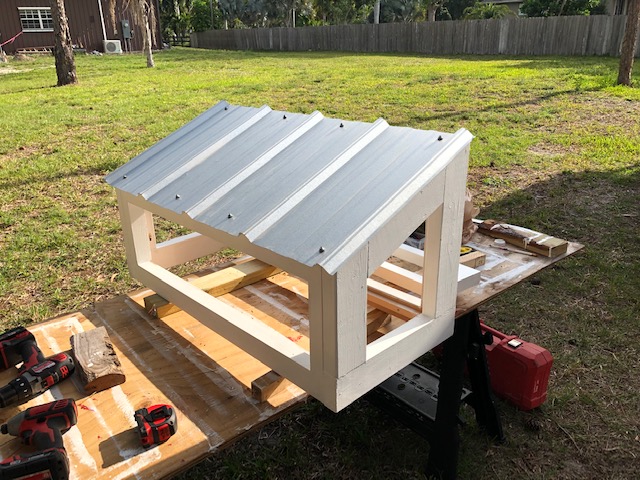
Unlike the rest of the coop (which I sourced recycled wood), I used brand new number 1 pine 2×4’s and marine board. I utilized the Kreg Jig system to put the box together, and used roofing I had left over from the shed.
What follows is a photo tour of my build process and installation.
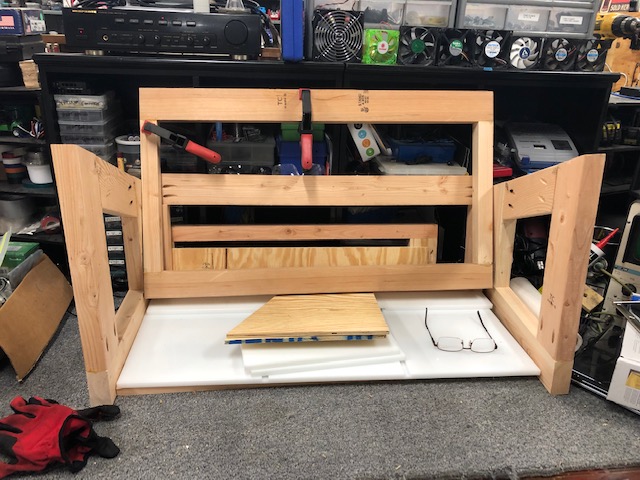
This is the dry fit on my workbench.
All the pieces cut and assembled – back, front, sides, etc.
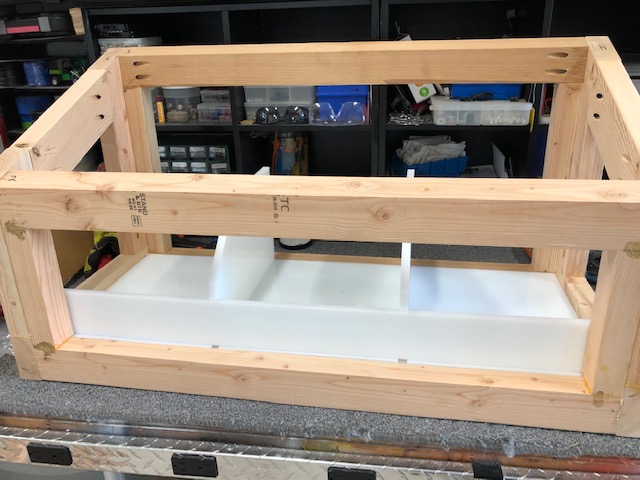
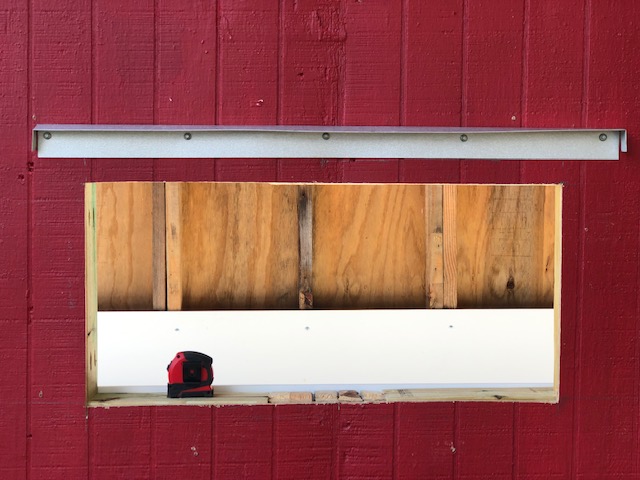
Note, I pre-framed the mounting studs in the front wall prior to installing the t1-11 siding to allow easy mounting.
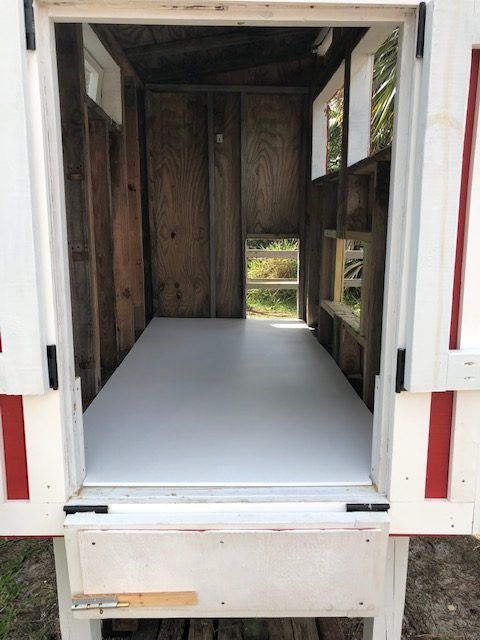
This is prior to final installation of the nesting boxes and before the remaining marine Star Board was installed.

It is now ready to install the front door and box separators/floor
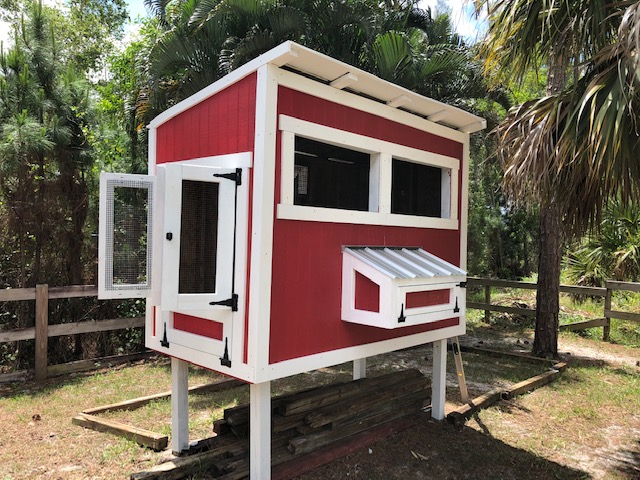
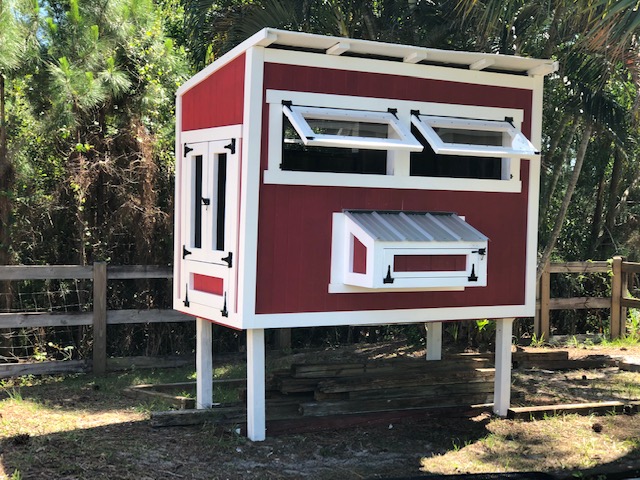
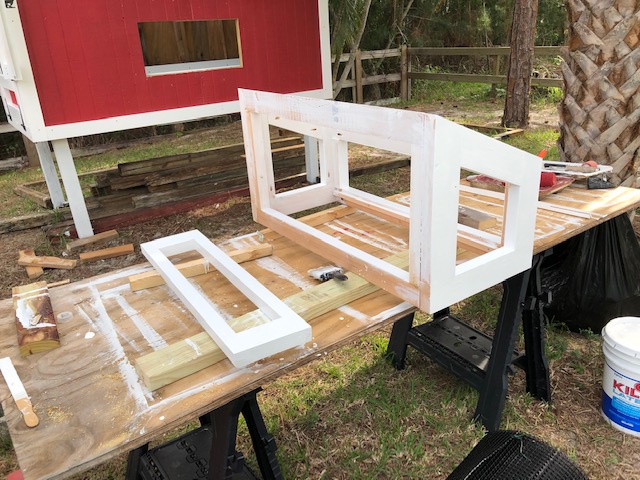
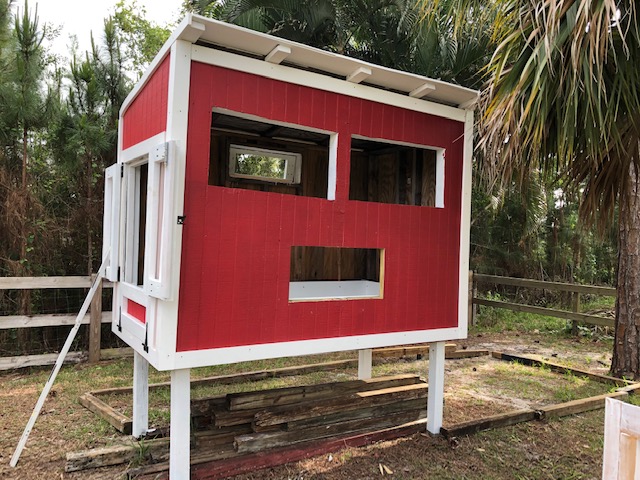
In this photo, you can see that I also installed trim for front windows.
Part 3 of this series will show the building and installation of the chicken run. Stay Tuned!!!